
unDraw for Websites
How to Use unDraw PNG Illustrations in WordPress
How to use unDraw PNG illustrations in WordPress: export the right size, upload and place artwork in posts and pages, write alt text, and keep pages fast.
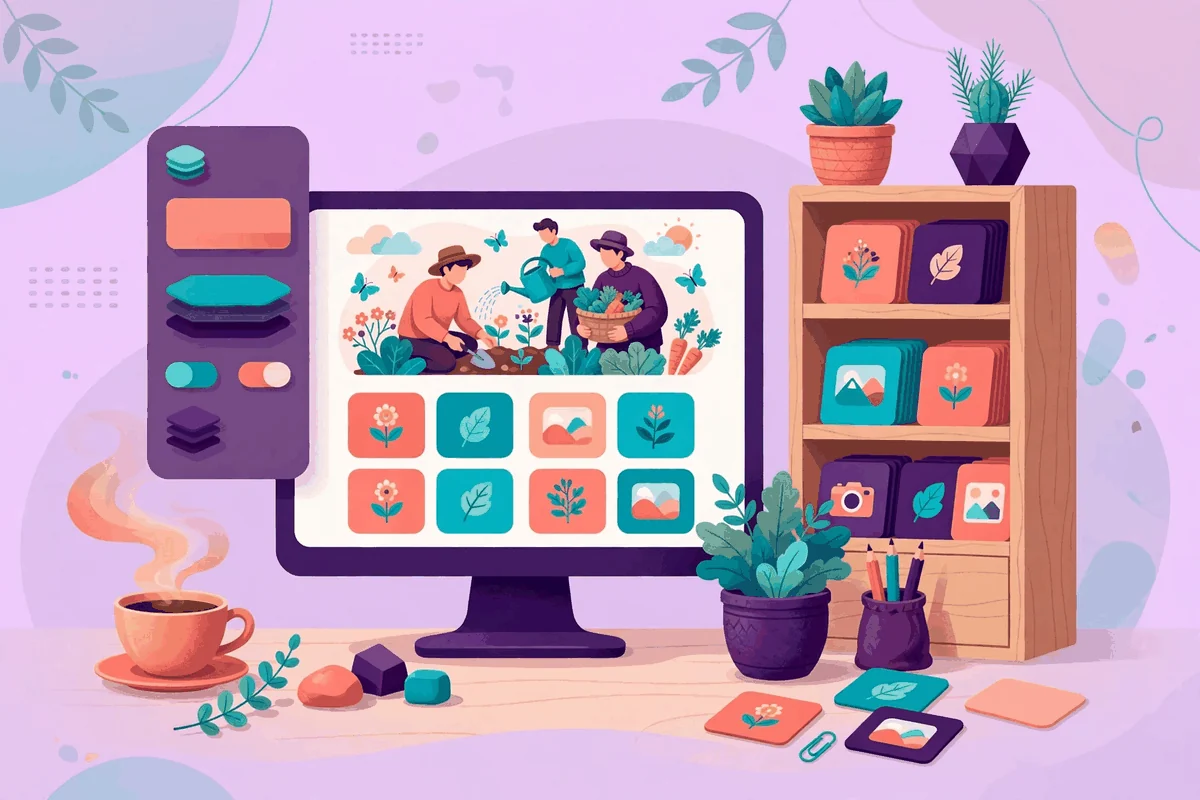
WordPress runs a large share of the blogs and small business sites that use unDraw artwork, and the PNG format is usually the path of least resistance there. A PNG needs no plugins, no upload filters, and no code. The catch is that a PNG is a fixed grid of pixels, so the size you download and the size WordPress generates from it decide whether the illustration looks sharp or soft on the page. This guide to using unDraw PNG WordPress artwork covers the full path: preparing the download, uploading it well, placing it with the block editor, and keeping the page fast.
If you have not downloaded anything yet, start with our walkthrough of downloading unDraw illustrations, and set your accent color on the unDraw site before you save the PNG. Once the file is downloaded, its colors and its pixel dimensions are fixed. WordPress can shrink it, but nothing can add detail back.
Why PNG is the practical choice in WordPress
WordPress core does not accept SVG uploads by default, because SVG files are code and can carry scripts. Allowing them safely requires a plugin or custom code and a deliberate security decision. PNG avoids that whole question. It uploads like a photo, works in every theme, and behaves predictably in the editor, in featured image slots, and in page builders.
The trade off is flexibility. An SVG can be recolored later and stays sharp at every size, while a PNG is one rendering at one size. If you are still deciding between the formats for a WordPress project, unDraw SVG vs PNG compares them honestly. For most posts and pages, PNG at the right size is the pragmatic answer, and the rest of this guide is about getting that size right.
Step 1: prepare the PNG before you upload
Most WordPress image problems start before the upload. Work through these checks on your computer first:
- Set the accent color on unDraw before downloading. The PNG bakes the color in. Changing your mind later means downloading the file again.
- Check the pixel dimensions. Open the file's properties or an image viewer and note its width and height. Compare the width with the widest place you plan to show it. A content column is often somewhere around 600 to 900 pixels wide in common themes, and a full width hero can be wider. Your theme decides the real numbers, so check your own layout rather than trusting a generic figure.
- Keep the original file untouched. Save the download as your master copy in a project folder. If a placement later needs a different size, you can return to the master or download again, instead of enlarging a copy that was already reduced.
A PNG displayed larger than its pixel width will look soft, especially on high resolution screens that render each CSS pixel with two or more physical pixels. Our guide to fixing a blurry unDraw PNG explains the math in depth, but the short version is simple: download once, at a size that covers your largest placement, and let WordPress scale it down.
Step 2: upload the illustration to the media library
You can upload from the Media Library screen or directly inside the editor. The library route is better for artwork you may reuse, because you can complete its details once and insert it anywhere afterwards.
- In the WordPress dashboard, go to Media and then Add New, and select or drag in your PNG file.
- Click the uploaded illustration to open its attachment details.
- Fill in the Alternative Text field with a short description of what the illustration communicates. This is stored with the file and reused wherever you insert it, although you can override it per placement.
- Add a title you will recognize later. A name based on the subject, such as "Onboarding illustration, purple", beats the raw download name when your library grows.
- Leave the caption empty unless the page genuinely needs one. A caption prints visible text under the image, which most illustrations do not need.
On upload, WordPress generates resized copies of your image. The Settings Media screen in the dashboard controls the maximum dimensions for the thumbnail, medium, and large sizes, and themes or plugins can register additional sizes of their own. WordPress also builds responsive markup for images you insert, offering the browser smaller or larger copies depending on the visitor's screen. You do not need to configure any of this for a single illustration, but it explains why the size choice in the next step exists.
One setting worth knowing about lives on that same screen: the option to organize uploads into month and year based folders. It changes where files are stored on the server, not how they appear. Either choice works; consistency matters more than the choice itself.
Step 3: place the illustration in a post or page
With the block editor, placing the artwork takes a few clicks:
- Open the post or page and click the inserter where the illustration should appear.
- Add an Image block and choose Media Library, then select your illustration. Uploading from this screen also works and adds the file to the library at the same time.
- In the block settings panel, choose the image size. Pick the smallest size that is still at least as wide as the space it will fill.
- Set the alignment. Illustrations usually sit best centered in a text column, or aligned wide when the theme offers that option for a hero style placement.
- Check the alt text field in the block. It inherits the value from the media library; adjust it if this particular page gives the illustration a different job.
- Leave the link setting on None unless the illustration genuinely needs to open something. Clickable decoration is a common source of accidental taps and confusing keyboard stops.
Choosing the right generated size
| Placement | Size to try first | Why |
|---|---|---|
| Small spot illustration beside text | Medium | Covers a narrow slot without sending the full file |
| Standard in content illustration | Large | Matches a typical content column with room for sharp screens |
| Full width hero or banner | Full Size | Uses your original, the only copy wide enough |
| Grid of cards or a gallery | Thumbnail or Medium | Small slots stay light and load quickly |
The names are the default ones from the media settings; your theme may label or extend them differently. The principle survives any naming: match the generated size to the slot, and never solve a blurry result by choosing a bigger display size for a small file. If the full size original is still narrower than the slot, the real fix is a different placement or a wider download, not a setting.
Featured images and page builders
Many themes use the featured image as a header or as the thumbnail in archive lists, and an unDraw illustration works well there because its flat colors survive cropping and scaling gracefully. Set it from the Featured Image panel as usual, and check two things afterwards: the theme's crop, which may cut the sides of a wide scene on narrow cards, and the alt text, which some themes output on the single post header. A scene with the subject near the center survives most crops best.
Page builders insert images through their own widgets, but the file still comes from the same media library, with the same generated sizes and the same stored alt text. Prepare the upload once, in the library, and every builder placement inherits the good habits.
Keep the page fast
Illustrations are lighter than photos, but a page with six full size PNGs still asks every visitor to download all six. A few habits keep unDraw PNG WordPress pages quick:
- Choose generated sizes honestly, as in the table above, instead of inserting Full Size everywhere.
- Let WordPress do its default work. Core adds responsive source sets for library images and applies lazy loading to images in content, so below the fold artwork loads as the reader approaches it.
- Compress the PNG before uploading if your tool offers a lossless or near lossless option, and compare the result at full size before trusting it.
- Reuse the same library file across posts instead of uploading a fresh copy each time, so returning visitors already have it cached.
For a deeper treatment that also covers hand built pages, see our guide to optimizing unDraw illustrations for faster pages.
Writing the alt text
WordPress gives you two chances to write alt text, once in the media library and once in the block, and it is worth using the first one well. Describe the meaning the illustration adds to the page: the activity, the idea, the mood that supports the text. If the artwork is pure decoration and the paragraph beside it already says everything, an empty alt is the correct choice, and WordPress respects a deliberately empty value when you clear the field. The full framework for that decision, with examples for common unDraw scenes, is in our guide to alt text for unDraw illustrations.
Name the file before it goes up
WordPress keeps the file name you upload, and that name becomes part of the image URL for the life of the site. Raw download names are long strings that mean nothing to you in six months and nothing to a search engine ever. Rename the PNG on your computer first, using short descriptive words separated by hyphens, such as team-onboarding-illustration.png. Avoid spaces and special characters, which some servers and tools handle poorly in URLs. This ten second habit pays off every time you search your own media library, because the library search matches file names and titles, and a named library stays browsable while an unnamed one becomes a scroll of identical looking thumbnails.
Understand what WordPress does with your settings
The sizes WordPress generates are created at the moment of upload, from the values then in effect. That has two consequences worth planning around. First, if you later change the dimensions on the Settings Media screen, perhaps because you switched themes, images already in the library keep the copies they were born with. The new values apply to new uploads. Rebuilding the old copies is possible with a dedicated regeneration tool, but it is a site wide operation to schedule deliberately, not a side effect to trigger casually. Second, the sizes your theme registers for its own layouts, such as card thumbnails or hero banners, exist alongside the defaults, which is why the size dropdown in the editor sometimes lists more than the familiar three. When in doubt, insert the illustration, view the published page, and check which file the browser actually downloaded in the developer tools network panel. That habit, borrowed from our optimization guide, replaces guessing with knowing.
Galleries and repeated illustrations
Some pages use several unDraw scenes together: a features page with one illustration per row, or a gallery style roundup. The block editor's Gallery block accepts library images like any other, and the same preparation rules apply, with two additions. Keep the accent color identical across the set, because a rainbow of different accents reads as several sites stitched together; download the whole set in one session with the picker set once. And give each image its own alt text decision rather than copying one description across the group. If the set together tells one story, the W3C guidance for groups of images suggests describing that shared information once and letting the rest be quiet, a pattern explained in our alt text guide.
Frequently asked questions
Can I just upload the SVG to WordPress instead?
Not with core alone. WordPress blocks SVG uploads by default for security reasons, because an SVG is a code file. Plugins exist that enable and sanitize SVG uploads, and choosing one is a real security decision for your site, not a formatting preference. If your design genuinely needs vector behavior in WordPress, evaluate that option deliberately; otherwise PNG is the supported path.
Why did my illustration change size after I switched themes?
The file did not change; the slot did. A new theme lays the content column out at a different width and may register different image sizes, so the same illustration displays larger or smaller. Check the size selected in the block, and if the new theme offers a wider content area, confirm your original PNG is wide enough to stay sharp.
Should I compress the PNG before or after uploading?
Before, if you compress at all. Compressing the master file you upload means every size WordPress generates starts from the optimized version. Compressing individual generated copies afterwards is fiddly and easy to undo accidentally with a regeneration.
Do I need to credit unDraw on the page?
No. The unDraw license allows use in commercial and noncommercial projects without attribution. A credit is welcome if you want to give one, but it is a courtesy, not a condition.
Quick checklist
- Accent color set on unDraw before the PNG was downloaded.
- Original PNG kept as a master copy outside WordPress.
- Alt text written in the media library at upload time.
- Generated size matched to each placement, Full Size used only where needed.
- Link setting left on None for decorative placements.
- Featured image crop previewed on the front end, including at phone width.
Sources and further reading
- WordPress.org documentation: Settings Media screen, the size settings used during upload and insertion
- WordPress.org documentation: inserting images into posts and pages with the block editor
- unDraw: the license for using the illustrations in your projects
- unDraw: browse, recolor, and download illustrations